Getting started with LayerSlider
LayerSlider is a WordPress plugin for building sliders, popups, and other animated content visually, without code. Your first steps lead from registering your license to a project on a page.
On this page
What you build with LayerSlider
Everything you build with LayerSlider is called a project, because a slider is only one of the things you can make with it. A project can be a slider, a hero scene, an animated page block, or a popup. You design a project visually in LayerSlider’s editor, the Project Editor, and then add it to a page of your site.
A project shows its slides one after another, as a presentation does. A slide holds layers: anything you place on it, such as text, an image, a button, or a video. Layer transitions animate a layer as it enters the slide, while it stays, and as it leaves. A slide transition animates the slide’s background as the slide comes in.
Installing and registering
If LayerSlider isn’t on your website yet, install it from the ZIP in your LayerSlider account.
A registered license brings premium templates, popups, add-ons, exclusive and early-access features, one-click or automatic updates, and direct help from our support team. After you activate LayerSlider, register your license in the license box of the LayerSlider dashboard.
Your first project
Near the top of the LayerSlider dashboard, you start a new project with the Browse Templates tile or the Add New Project tile.
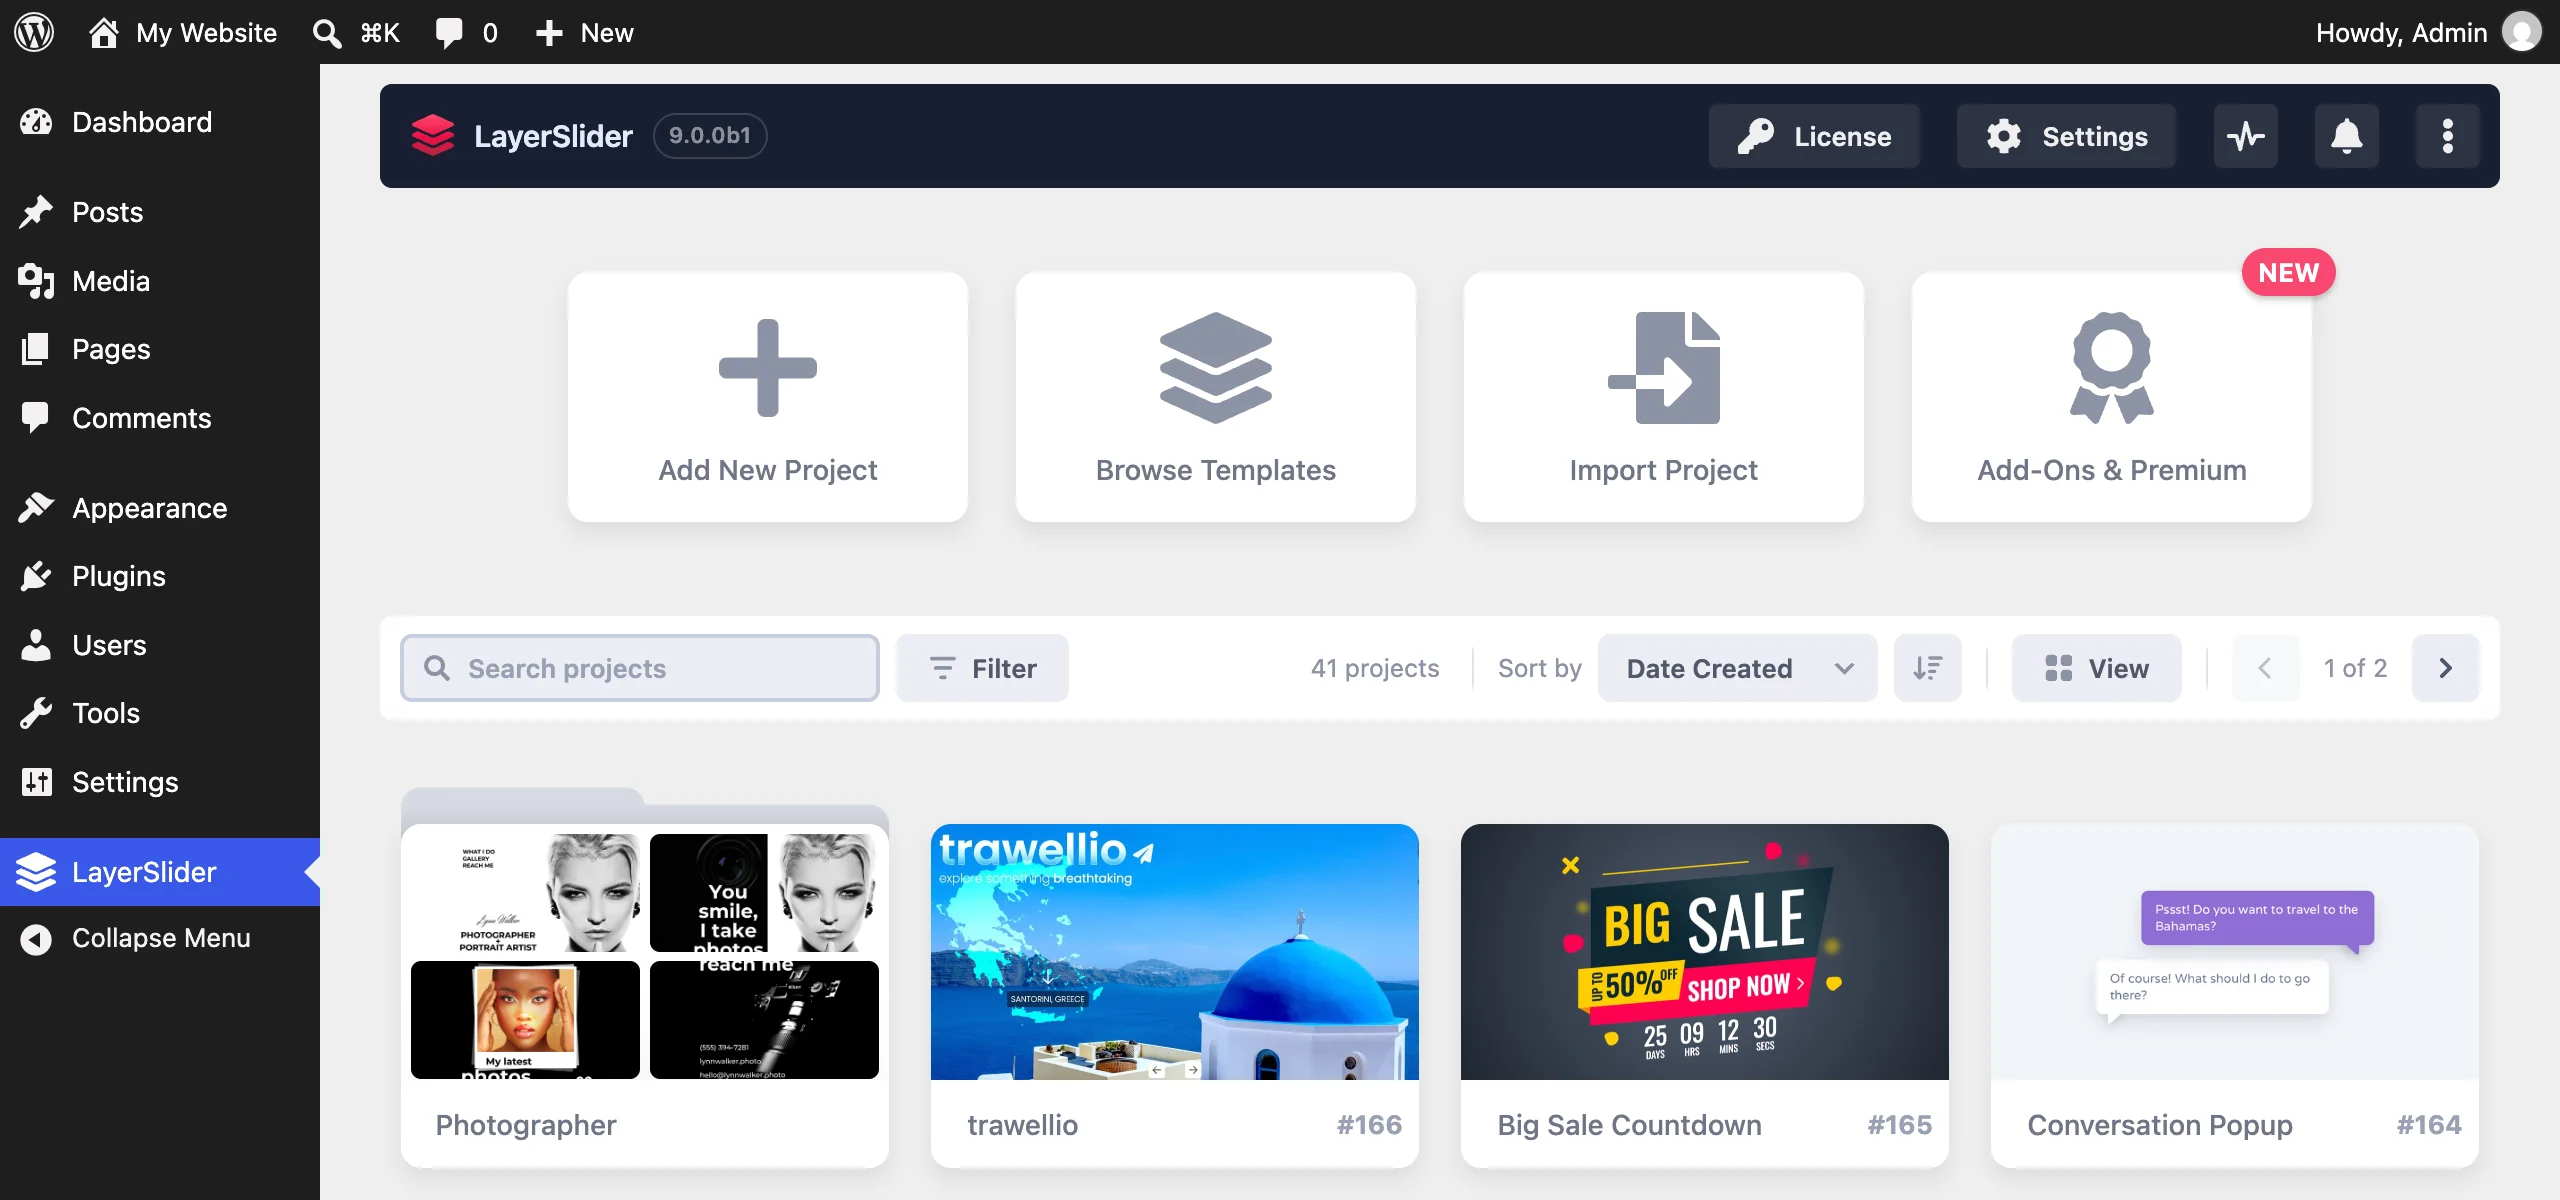
- Add New Project
- Browse Templates
The Browse Templates tile opens the Template Library. To start a project from a template, move the pointer over the template you want and click Download. The Add New Project tile opens a window where you name the project and click Create Blank Project, which opens the new project in the Project Editor. To make a project a popup, choose Popup as its layout, in Project Settings › Layout.
The Interface Walkthrough, a guided tour of the editor from setup to publishing, opens by itself the first time you open the Project Editor. To take the tour later, open the ⋮ menu of the toolbar, in the top right corner of the editor, and choose Guided Tours, then Interface Walkthrough. If you prefer to read, the overview of the Project Editor describes its regions.
To see what a setting does, move the pointer over the setting and click the ⋮ button that appears. The built-in help that opens gives the setting’s description. In the Project Settings window, look for a setting’s description beside its field.
Publishing
The Save and Publish buttons are in the bottom right corner of the editor. Save keeps your changes in the project’s draft only. No page of your site shows a draft, not even to you while you’re signed in to WordPress. Publish saves your changes and puts them on your site.
Adding the project to a page
In the block editor, the editor of WordPress itself, which builds a page from blocks, you add the LayerSlider block to the page. Page builders, plugins for designing pages visually, such as Elementor and Divi, usually have a LayerSlider module. You can also use the project’s shortcode, a piece of text in square brackets such as [layerslider id="1"] that WordPress replaces with the project when it shows the page.
After you click Publish, the editor offers the project’s shortcode to copy. To add the project to a page, follow the steps for the way you choose.
A project shows on a page as soon as you add it there, in the version you published last. So give it its content and publish it first, or keep it from your visitors until it’s ready: turn off Status in Project Settings › Publish, and click Publish. If a page still shows the old version after you publish, see what else to check.