The Navigation Editor
The Navigation Editor, on the Navigation tab of the Project Editor, sets up the arrows, bullets, thumbnails, and other controls that visitors use to change slides, and their look on every device.
On this page
What the Navigation Editor sets up
In the Project Editor, the Navigation tab, which opens the Navigation Editor, is above the sidebar, on the right, after the Slide and Layers tabs. While that tab is open, the layers list, on the left, shows the navigation’s elements in place of the layers, under the Elements tile.
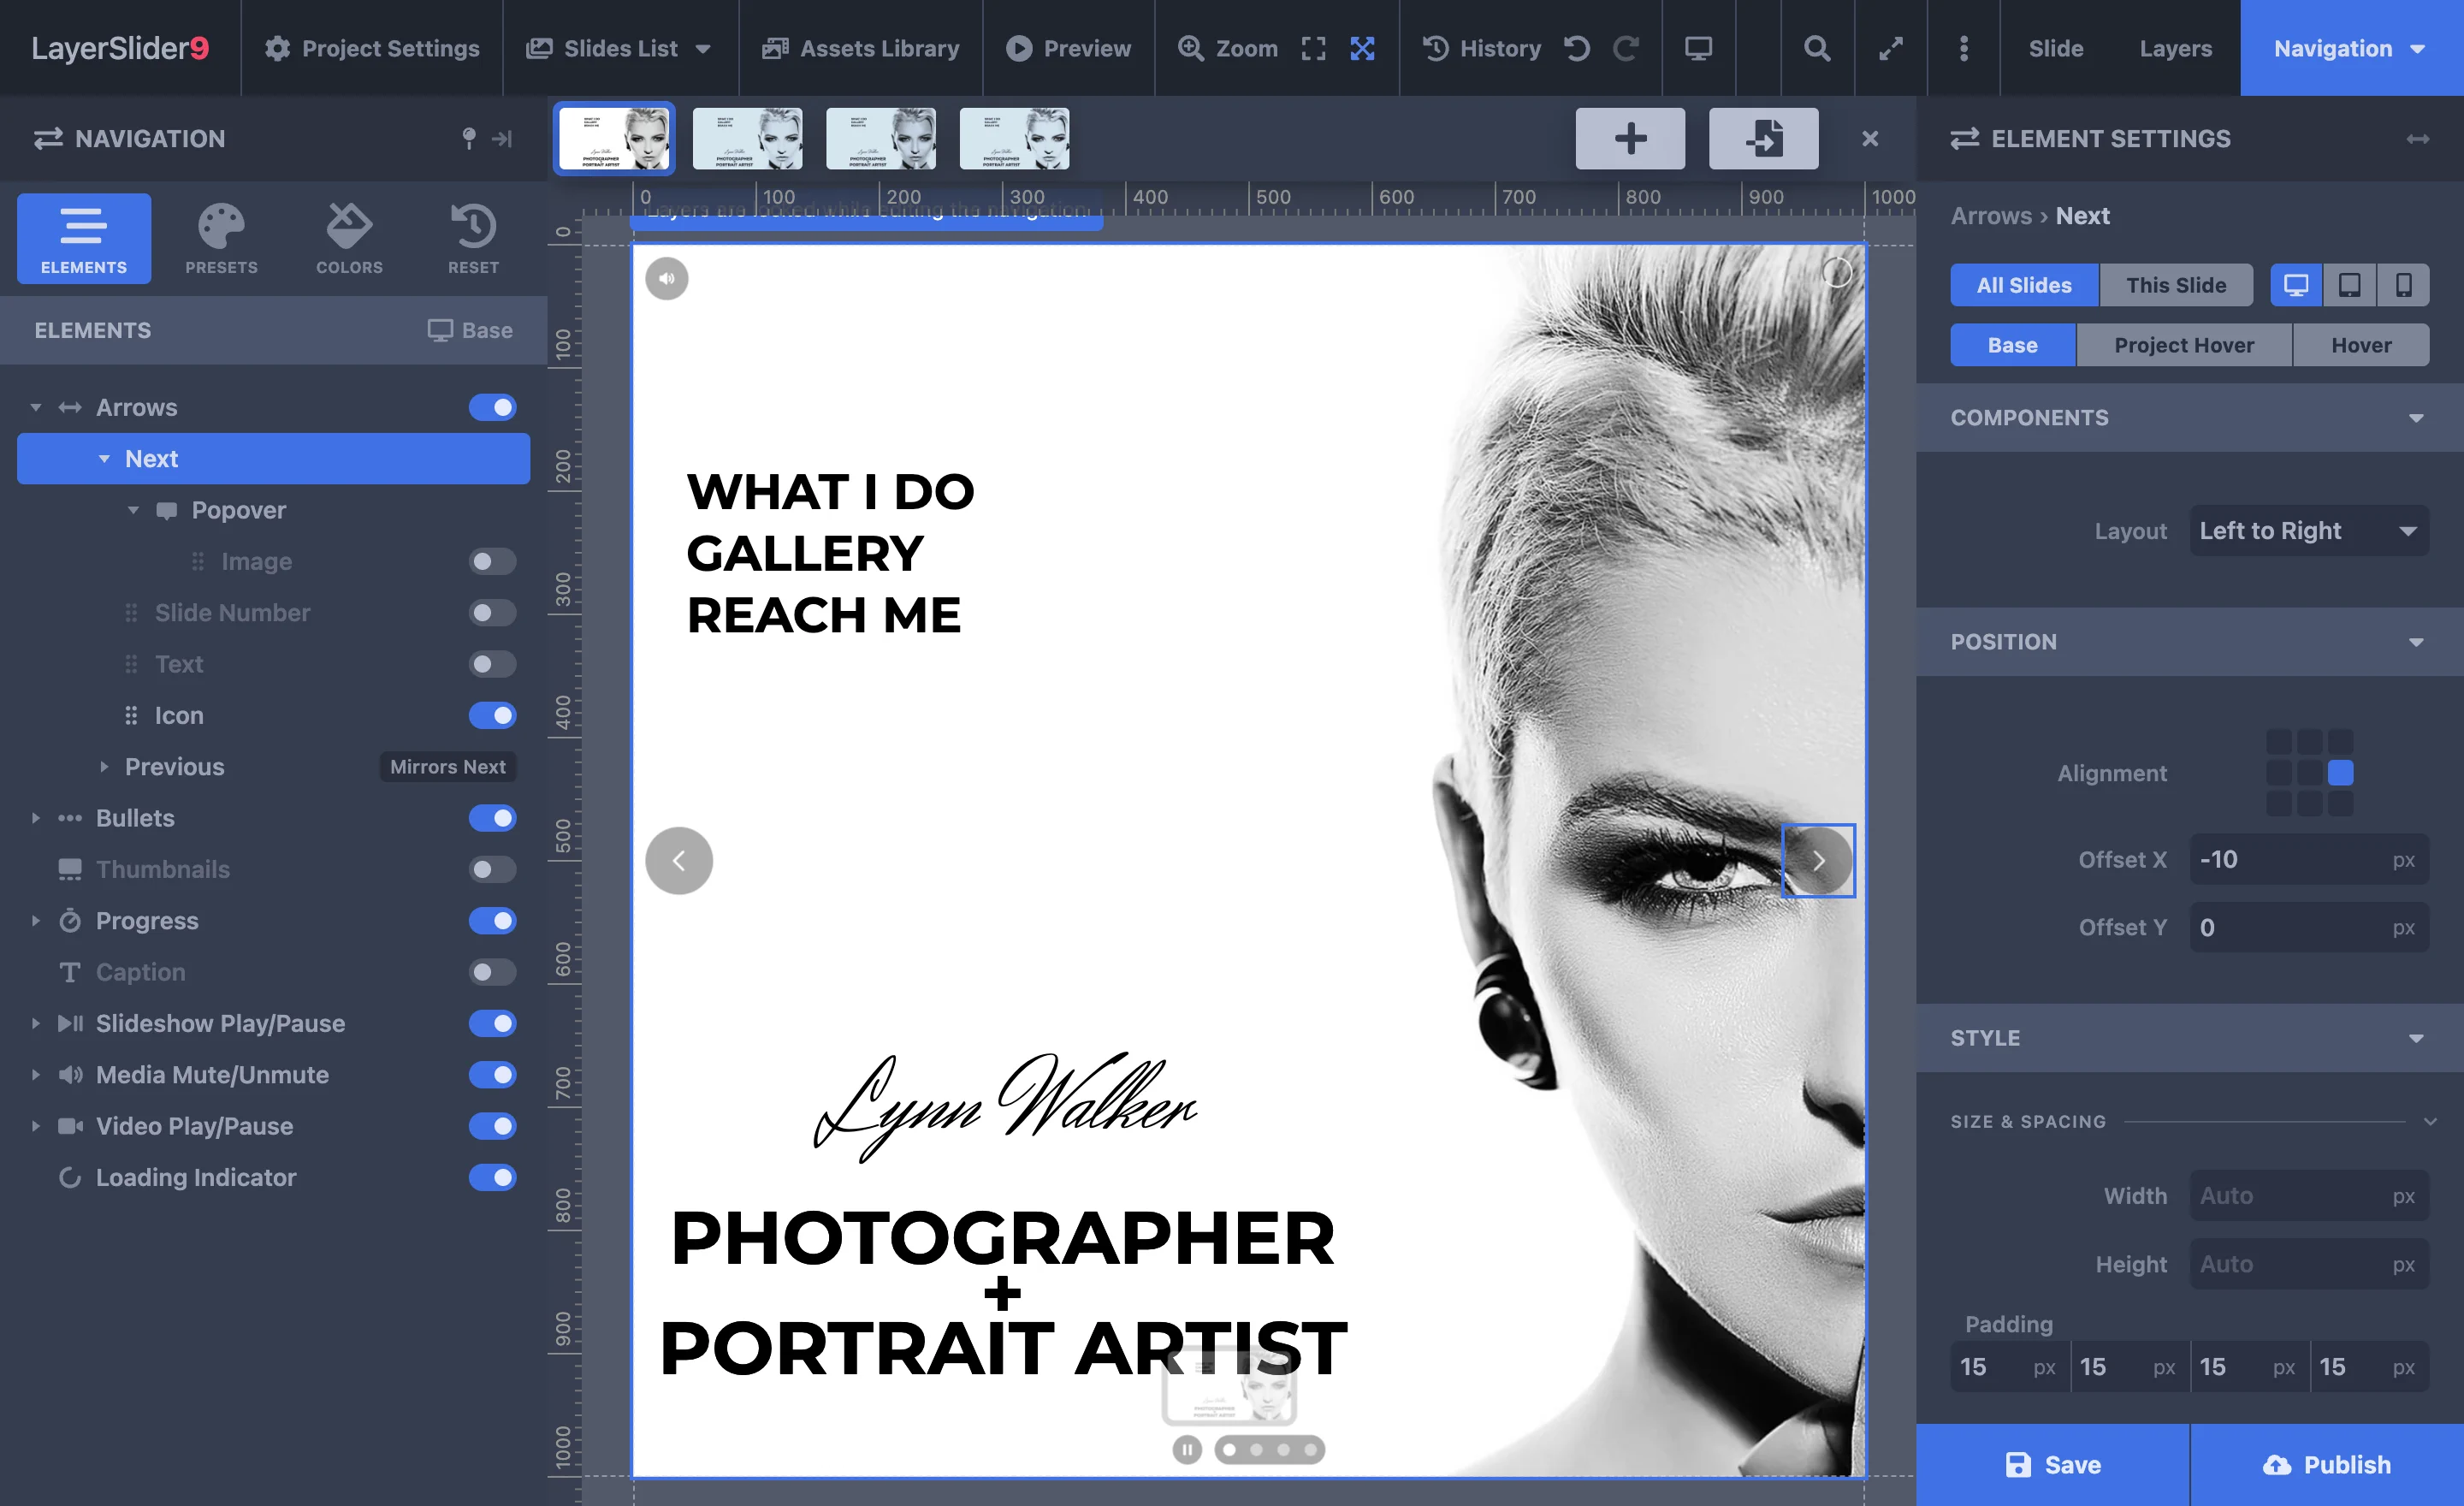
- Navigation
- Elements
If your project was started from a template or made with LayerSlider 8, the Navigation tab shows the Legacy Navigation box instead, until you switch the project to the Navigation Editor.
The elements include the arrows, the bullets, the thumbnails, a caption, and a button that plays and pauses the slideshow, to name a few. Every element is already in the list, with a switch that turns it on or off. To hide the arrows, for example, turn off the switch in the Arrows row. In a new project, the thumbnails are off: to show them, turn on the switch in the Thumbnails row.
Click an element in the list to show its settings in the sidebar. The element then opens to its parts, such as the Next and Previous rows of the arrows, and clicking a part shows that part’s settings. On the canvas, click an element to select it, and click again to reach the part under the pointer.
Presets and colors
A preset gives the whole navigation a look at once. The Presets tile, at the top of the list, shows the presets: clicking one previews it on the canvas, and Apply gives it to your project. Applying a preset replaces the navigation’s settings with the preset’s, including which elements are on.
To reuse a look you’ve built, save it as a preset of your own with Add Current Settings as a Preset, below the presets. After you name the preset and click Save, the Navigation Editor of every project on your site shows it in the My Presets list.
The Colors tile opens a panel where you recolor the whole navigation at once.
Changes in the Navigation Editor, such as an applied preset, show on your site after you publish the project.
Devices, slides, and states
Above the settings of every element, a row of buttons decides where a change applies: on which device, on which slides, and in which state. The panel that the Colors tile opens has the same row.
The Desktop, Tablet, and Mobile buttons choose the device you set up the navigation for. A smaller device follows the larger ones in every setting you haven’t changed on it. So a change on Tablet also applies to phones, and a change on Mobile applies to phones only.
To hide an element on phones, for example, click Mobile and turn off the Show on This Device switch in the element’s settings. For the arrows, choose None in the Show row instead.
This Slide gives the slide you’re editing a navigation of its own. What you change then applies to that slide only, and everything you leave as it is keeps following All Slides.
The state buttons, below the others, give an element another look in each state. Base is the look at rest, Project Hover is the look while the pointer is over the project, and Hover is the look while the pointer is over the element itself. Some elements have states of their own, such as Active for the bullet of the current slide.
If the Navigation tab shows Legacy Navigation
If the Navigation tab shows the Legacy Navigation box, the project is on the legacy navigation: its navigation is set up in Project Settings, with a skin. To set up the navigation in the Navigation Editor instead, click Switch to the Navigation Editor in the box.
Switching changes the project in the editor only. Your site keeps showing the skin until you publish the project, and from then on it shows the Navigation Editor’s navigation. For a ready-made look, much like a skin, apply a preset.
If you change your mind, click the Reset tile at the top of the list and choose Switch Back to the Legacy Navigation. The project gets back its skin and its settings in Project Settings, and the Navigation Editor keeps its own settings for the next time you switch.
If you keep the legacy navigation, its settings are in Project Settings › Navigation and Project Settings › Thumbnail Navigation, and its skin is in the Skin list of Project Settings › Appearance.
A project started from a template is on the legacy navigation. A project made with LayerSlider 8 keeps its navigation and the skin you chose for it, in the Project Editor and on your site. A duplicate keeps the navigation of the project it’s copied from, and so does a project that you export and import. New blank projects always use the Navigation Editor.